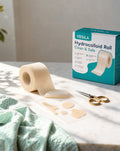

Why a roll?
Pimples Don't Come in Circles
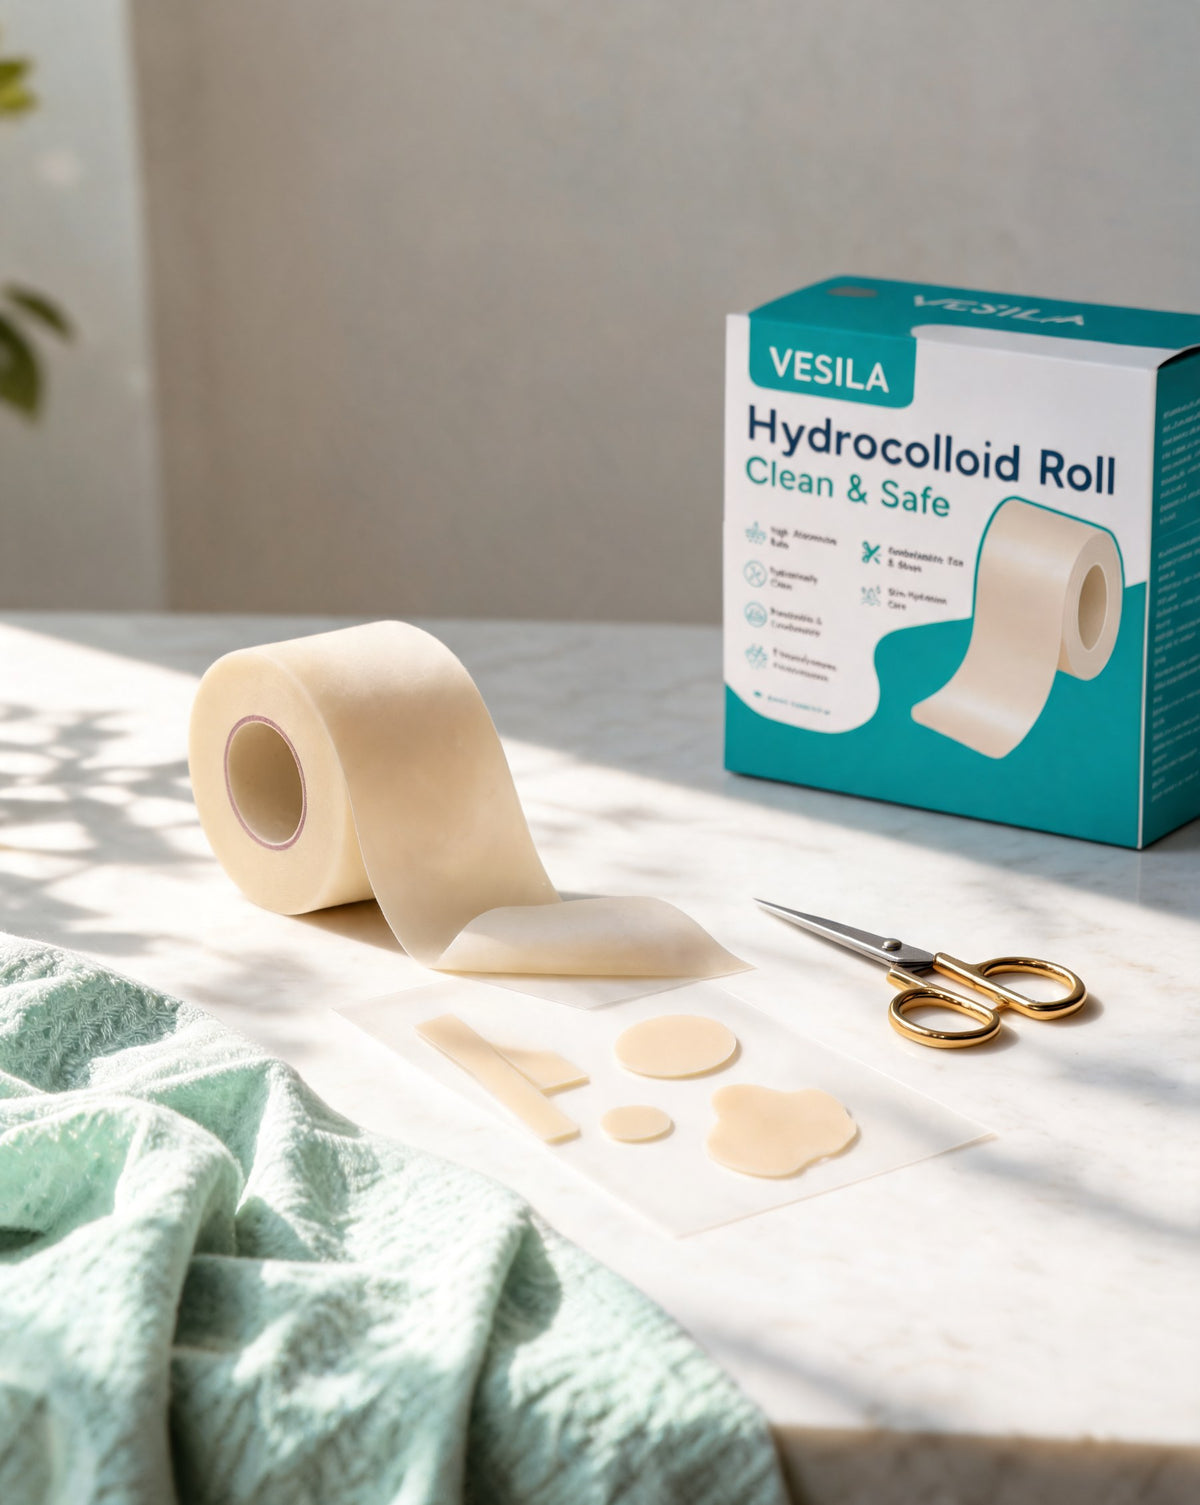
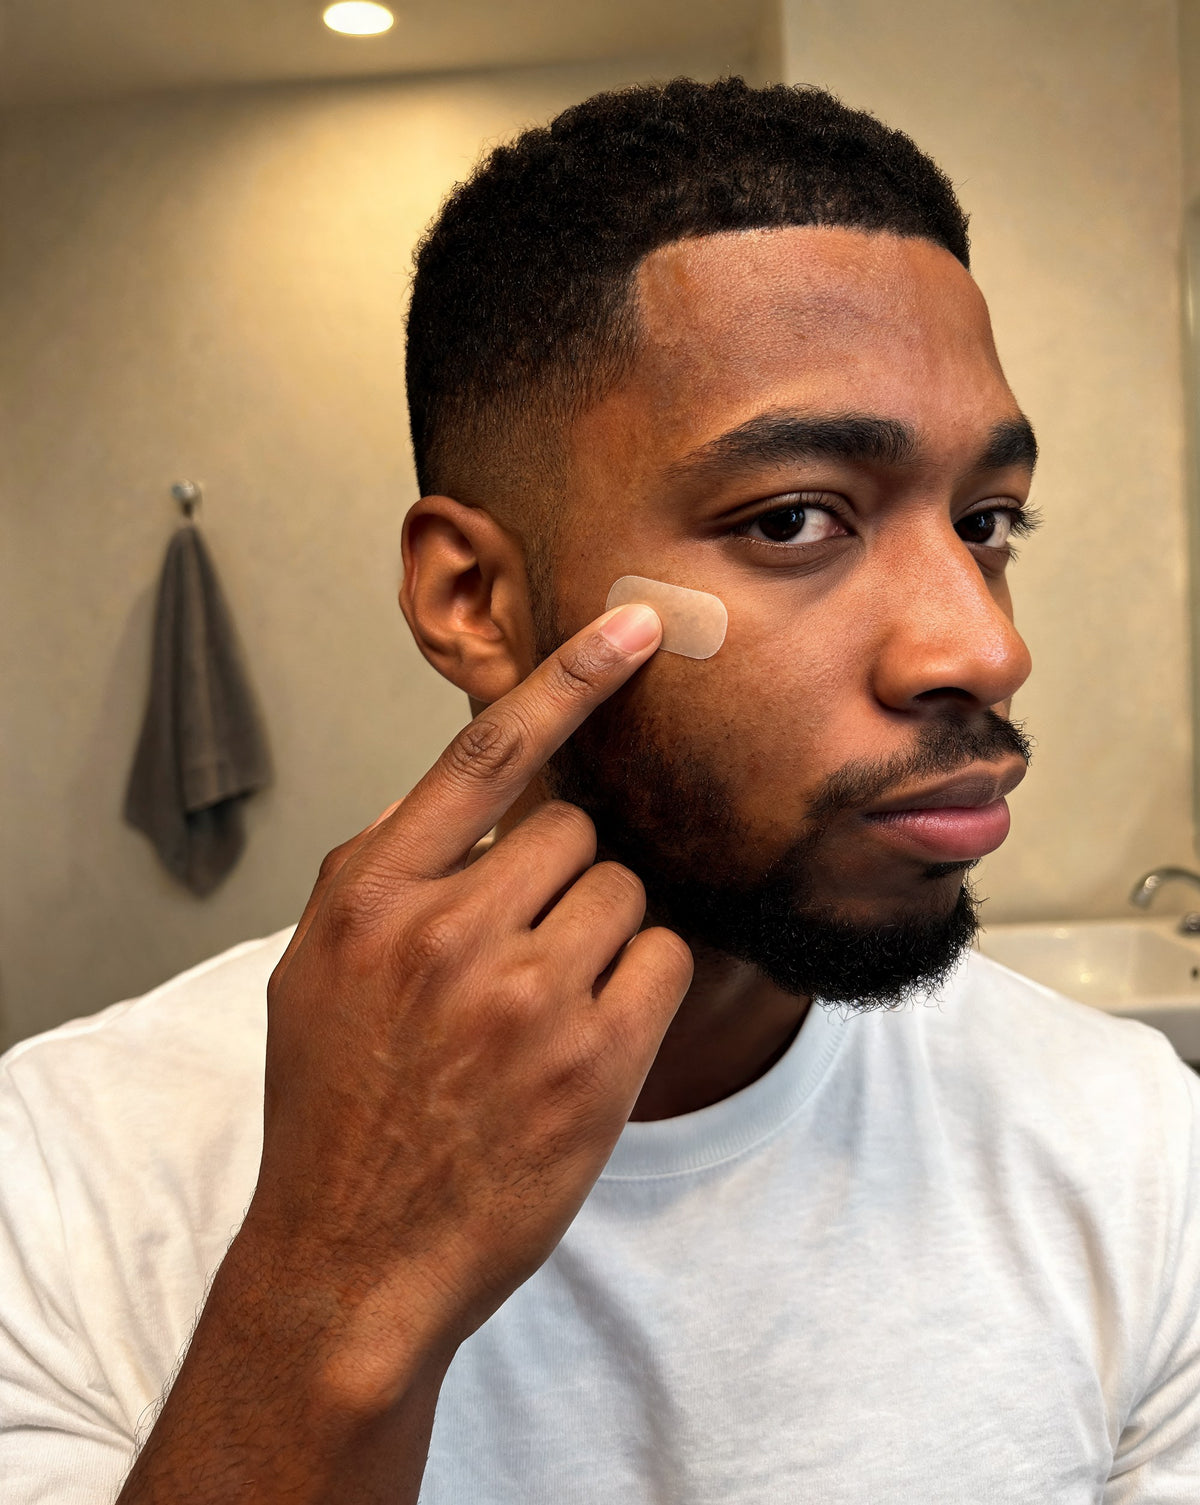
Pre-cut patches are one small circle. Breakouts are clusters, curves and creases, and they don't stop at your face. Cut the roll to the exact shape you need and cover the whole thing with one piece.
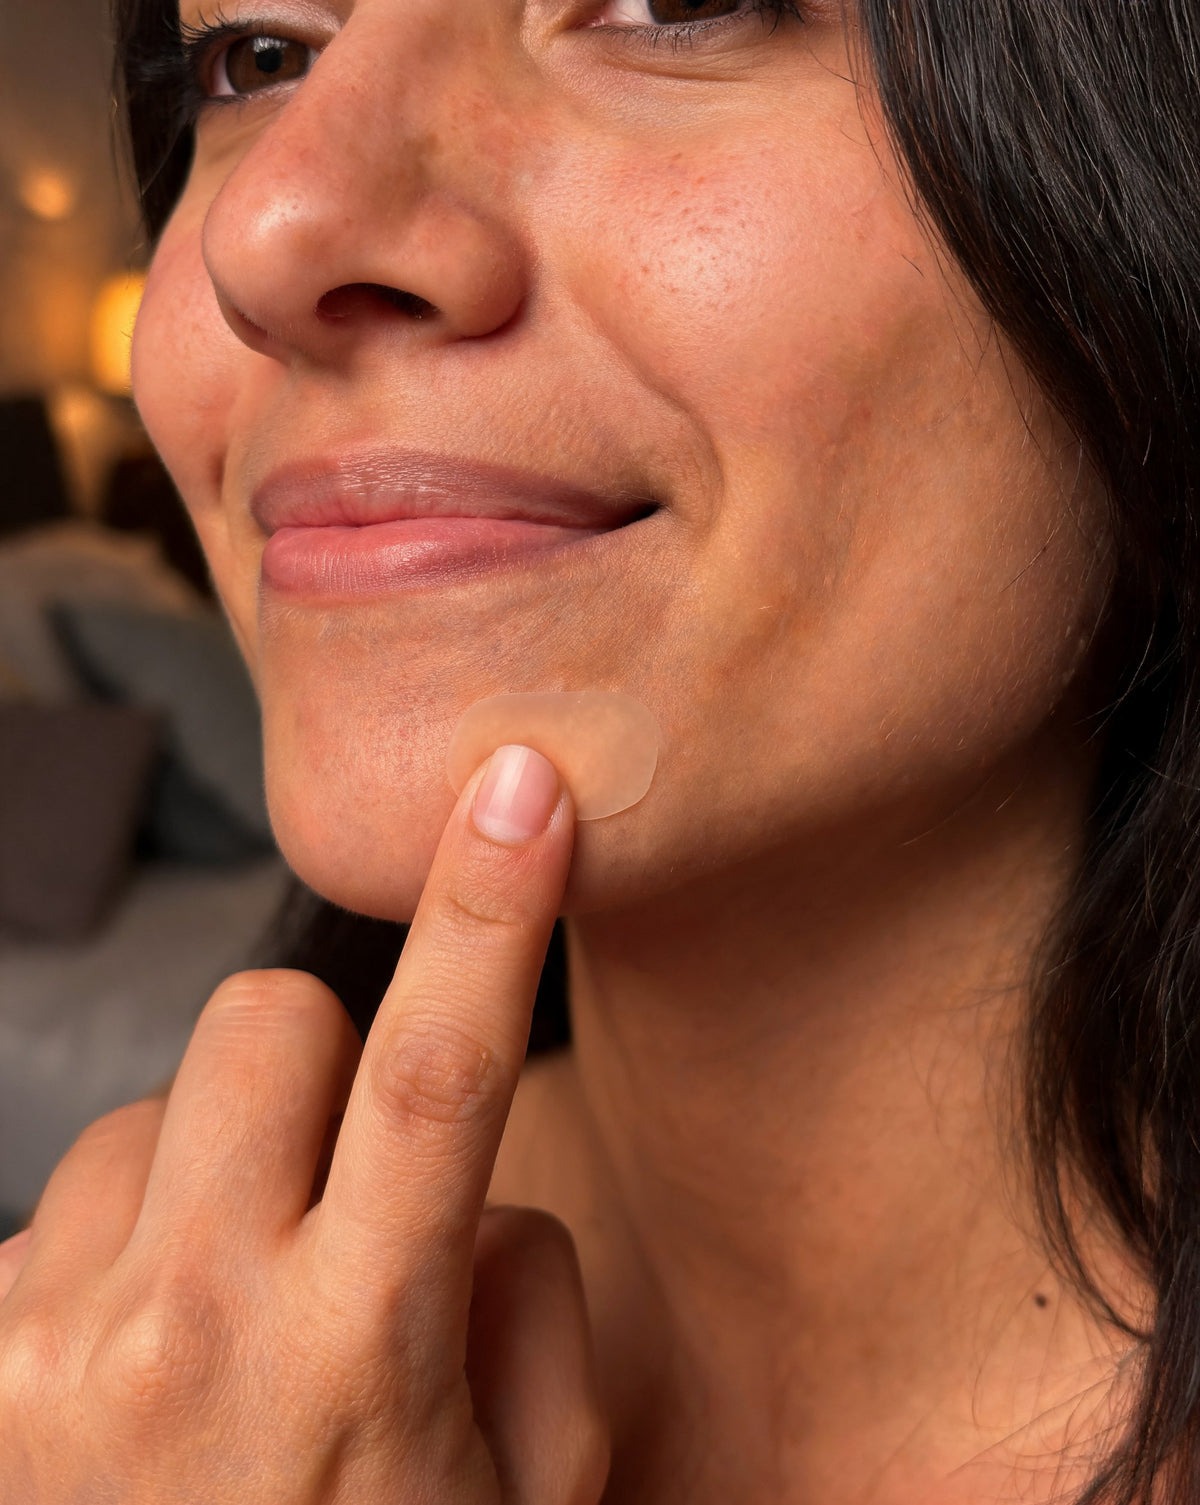
Chin clusters
One piece covers the whole cluster, instead of four dots peeling at the edges.
Nose creases
Cut a thin crescent that follows the curve, so it stays sealed where dots pop off.
Jawline flare-ups
A long, slim strip covers spots along the jaw in one go, with no gaps between dots.
Hairline & brows
Trim a narrow band for the spots along your hairline or between your brows.
Back, chest & shoulders
Body breakouts need bigger coverage than a dot. Cut one larger piece to cover the area.
Blisters, too
Hydrocolloid is the same material used in blister plasters. New shoes? Cut a piece.
One roll. Any shape. 700+ spot-sized patches.
What One Little Roll Does
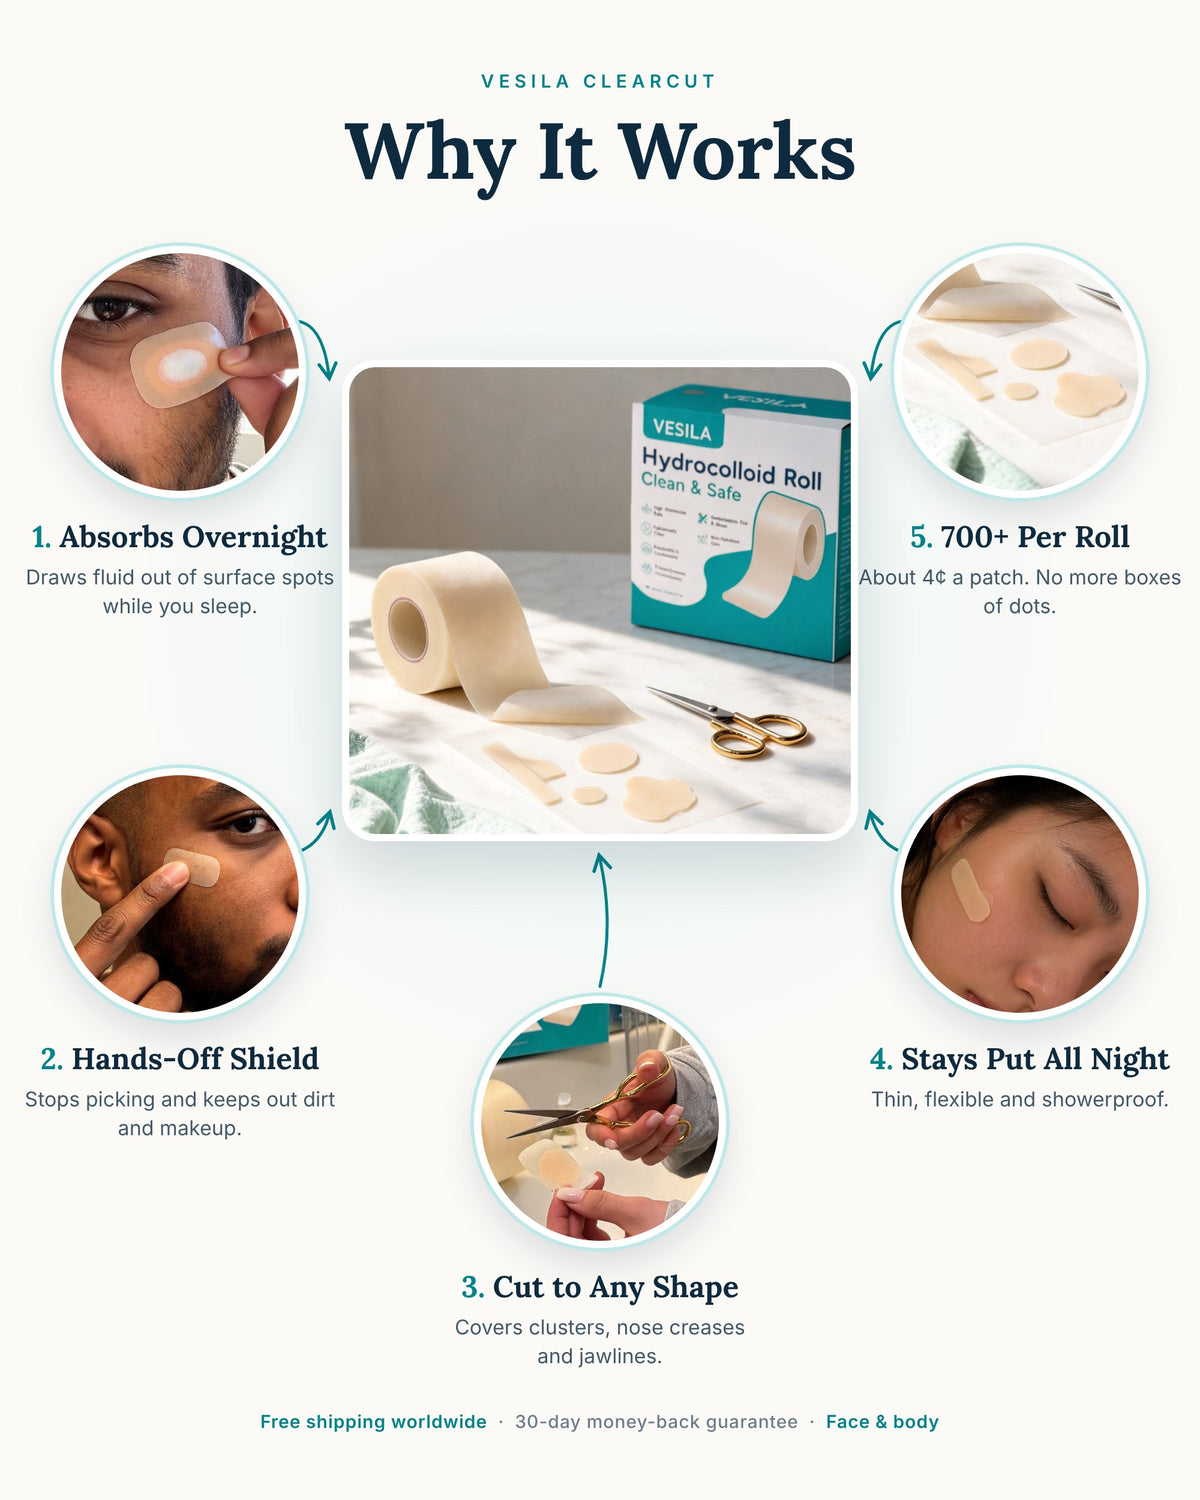
Absorbs the Gunk
Hydrocolloid draws fluid out of whiteheads into the patch, so spots look flatter by morning.
Hands-Off Shield
A physical barrier that stops you picking and keeps out dirt, makeup and pillowcase friction.
Any Shape, Any Size
Tiny dots, long strips or big pieces for clusters, creases and body breakouts.
Day or Night
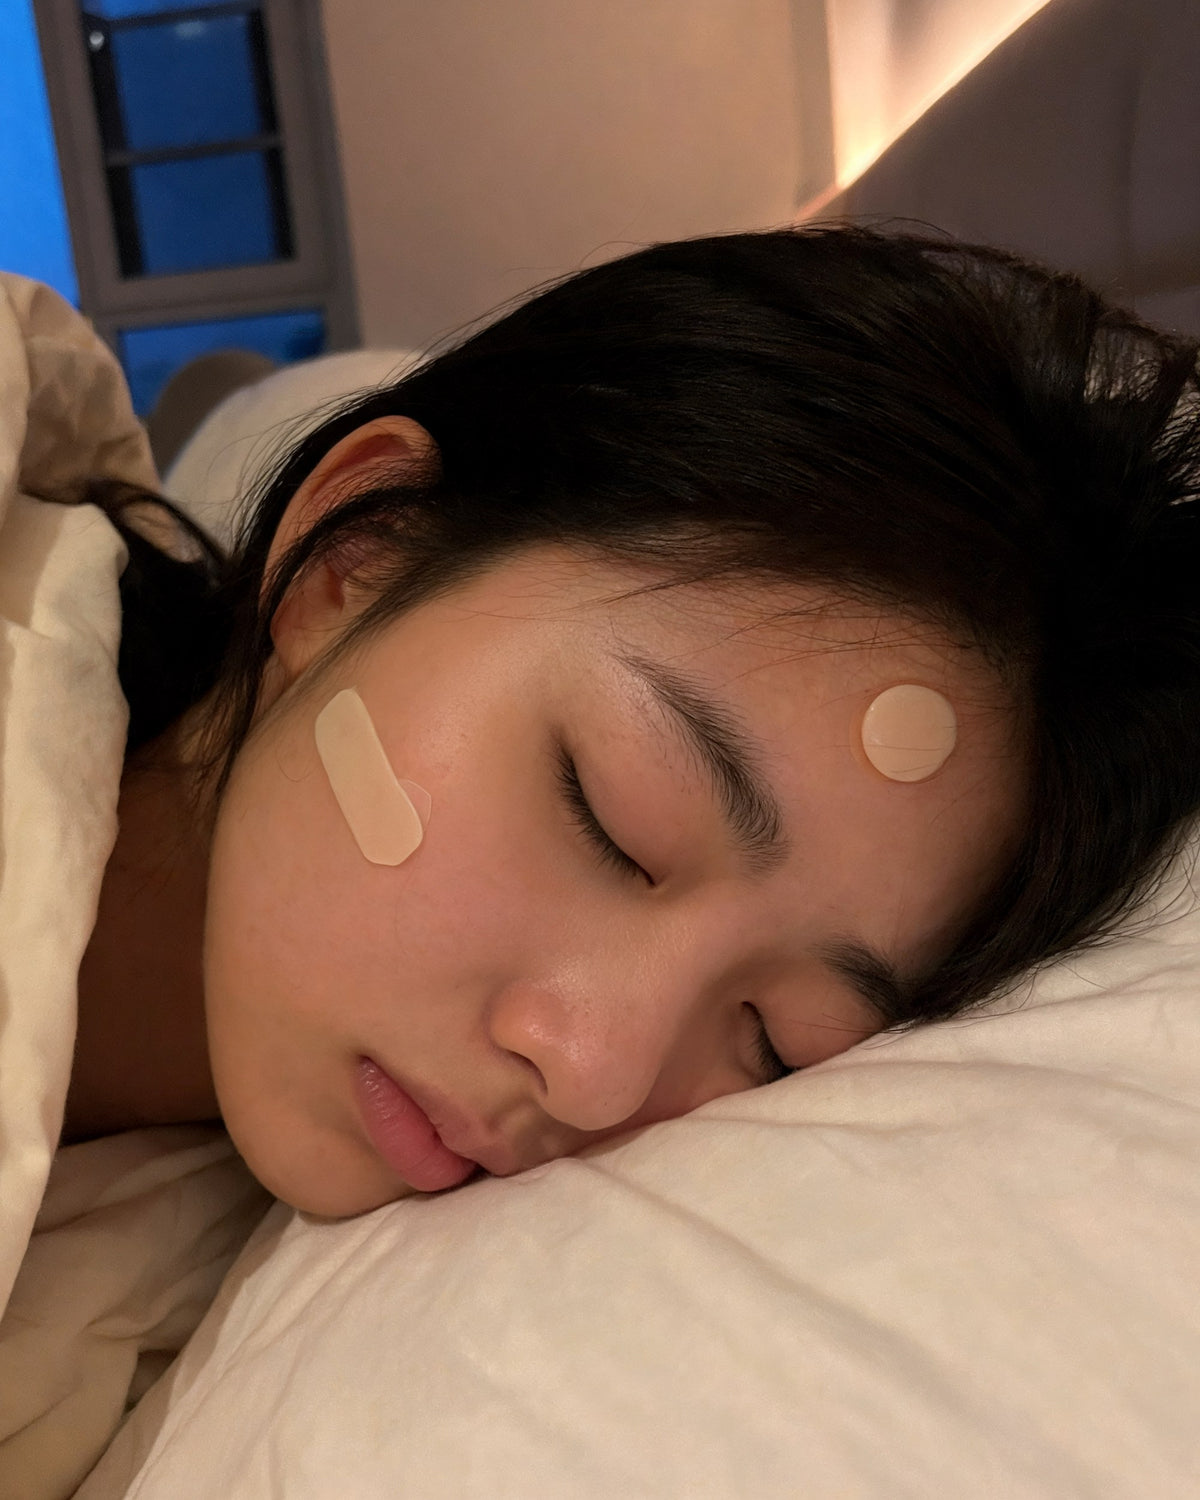
Thin, flexible and showerproof. Wear it overnight or under a light layer of makeup.
Do the math
What Are Your Pimple Patches Really Costing You?
Pre-cut patches usually cost 15–34¢ each, and it adds up fast if you use one most nights. A 1 cm piece cut from the roll works out at about 4.3¢. Move the slider to see your year.
That's up to $94 back in your pocket.
Pre-cut prices are typical US retail for popular 32–72 count packs (Oct 2026); yours may differ. Roll math assumes 1 cm pieces (about 700 per roll) bought at the single-roll price. Bigger pieces use more roll.
Roll vs Dots vs Picking
Pre-cut dots work fine on a single spot. The roll does that too, and covers everything a dot can't.
How it works
Cut. Stick. Sleep. Peel.
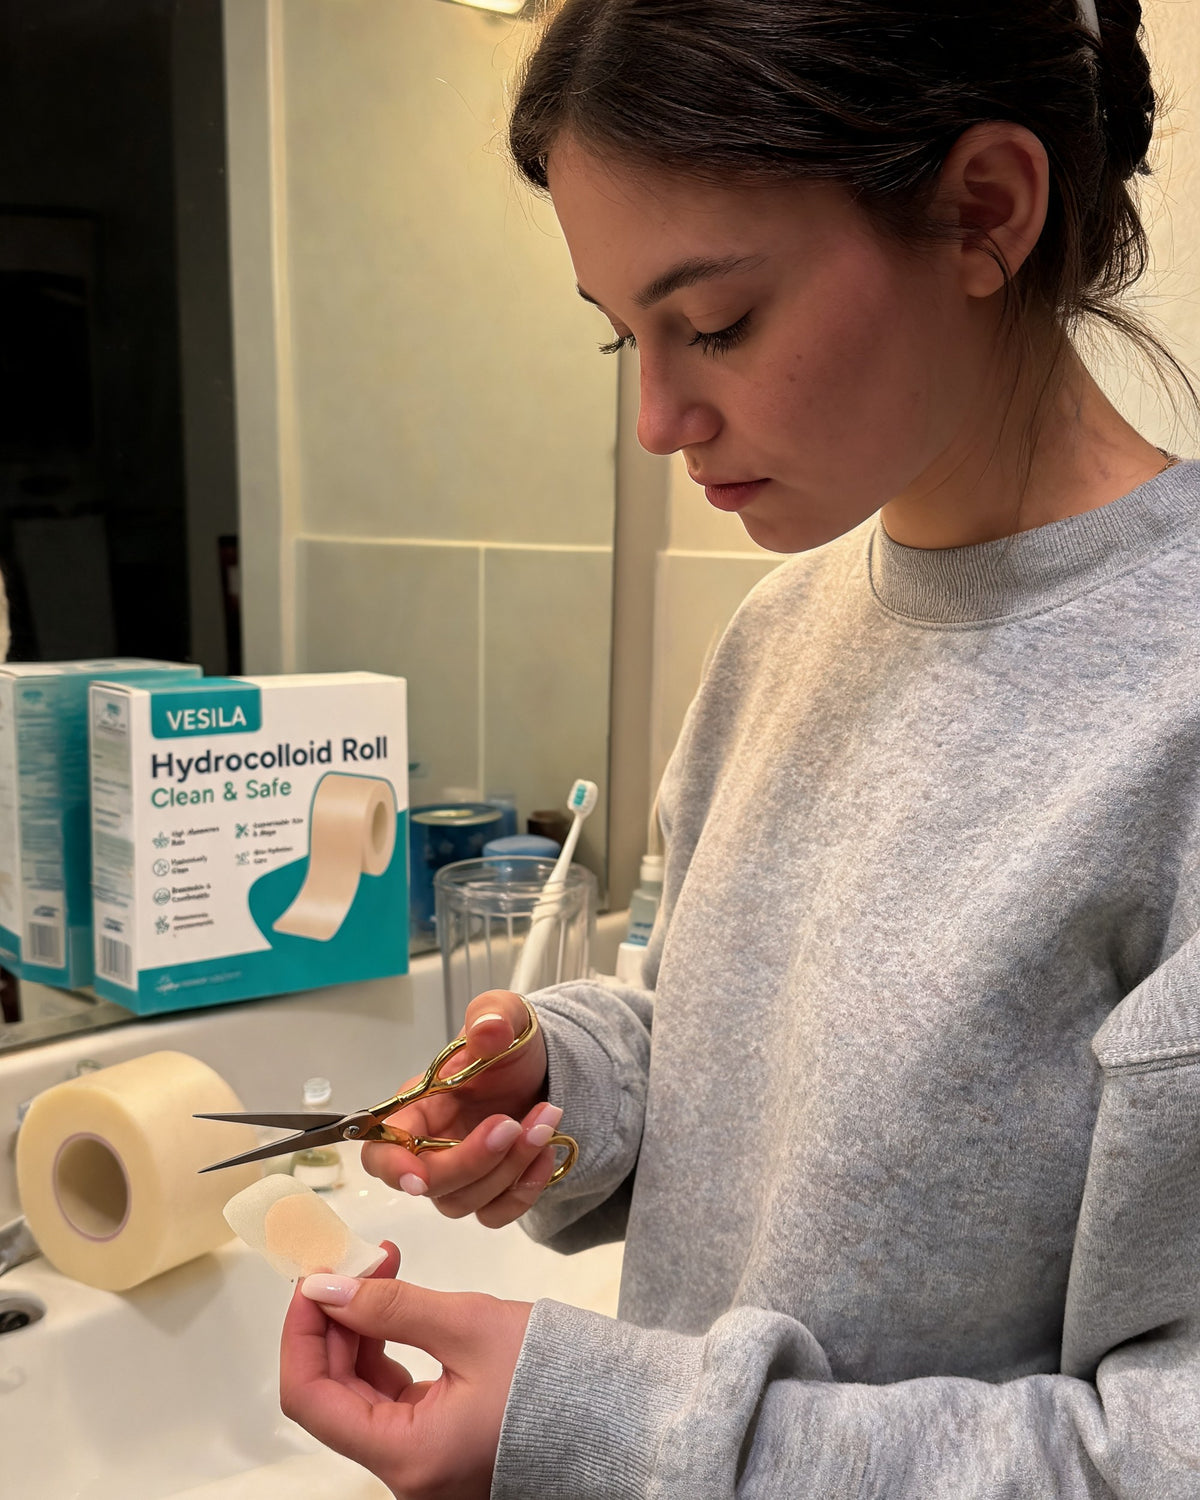
About 30 seconds before bed. Keep a small pair of scissors with the roll.
Cleanse & dry
Wash the area and pat it completely dry. No serum, oil or moisturizer underneath, or it won't seal.
Cut to fit
Cut a piece that covers the spot or cluster with a little border all round.
Pro tip: round off the corners. Square corners are what lift first.Press & smooth
Peel off the backing, place it, then press from the center out and hold for 10 seconds.
Pro tip: the warmth of your fingertip helps it seal.Sleep, peel & toss
Leave it on for 6–8 hours, then peel it off slowly and throw it away.
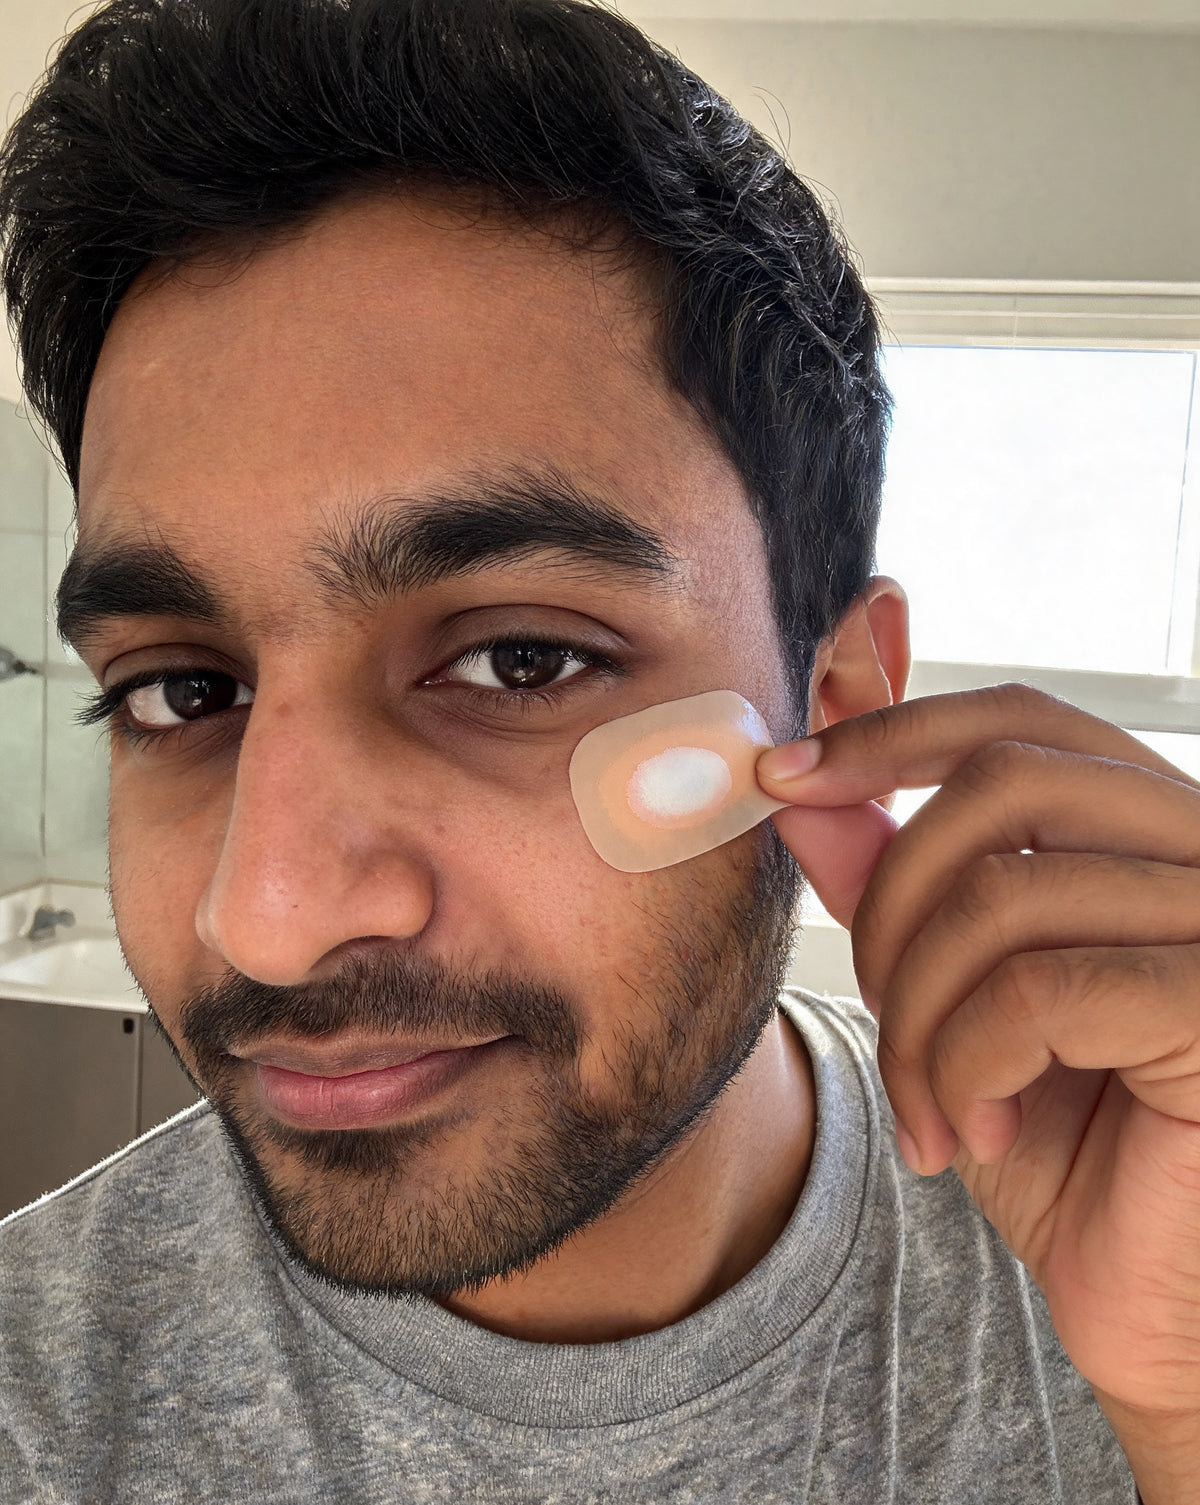
Turned white? That's the hydrocolloid absorbing fluid from the spot.What to Expect
No before-and-after tricks. Here's what really happens.
Tonight
Cut, stick, sleep. The patch seals the spot in, and your fingers can't get to it.
Tomorrow morning
On a spot with a head, the patch turns white as it absorbs fluid. Peel it off and the spot usually looks flatter and calmer.
Every breakout after
No running out of dots. Cut exactly what you need, 700+ times over.
Works best on surface spots with a visible head. Deep, cystic or under-the-skin bumps won't turn the patch white, and a patch won't clear them. This is a cosmetic patch, not an acne treatment. For persistent or painful acne, see a dermatologist.